
Mastering the Art of Custom Silk Screen Printing

Silk screen printing, also known as screen printing or serigraphy, is a popular method for printing high-quality designs onto fabric, including t-shirts, hoodies, and tote bags. In this comprehensive guide, Dallas TX T Shirt Screen Printing will explore the step-by-step process of printing custom silk screen printed shirts. Whether you’re a seasoned screen printer looking to refine your skills or a beginner eager to learn the craft, this article will provide you with the knowledge and techniques needed to create stunning custom apparel.
Understanding Silk Screen Printing
Silk screen printing is a versatile and cost-effective printing technique that involves using a mesh screen, stencil, and ink to transfer designs onto fabric. The process is highly customizable, allowing for intricate designs, vibrant colors, and durable prints. Silk screen printing is ideal for producing large quantities of custom apparel and offers excellent color saturation and longevity.
Preparing Artwork and Screen Preparation
The first step in silk screen printing is preparing the artwork and creating the stencil, also known as the screen. The first step is to use graphic design tools to create or digitize your design. Once you have your design, transfer it onto a transparent film or vellum to create the stencil. Next, coat the screen with photo emulsion and allow it to dry in a dark environment. Once dry, place the stencil on the screen and expose it to UV light. Rinse the screen to reveal the design, leaving a clean stencil ready for printing.
Setting Up the Printing Press (Approx. 150 words):
After preparing the screen, set up your printing press and secure the screen in place. Adjust the screen tension and placement to ensure proper alignment with the garment. Place the garment on the printing platen and use registration marks to align the design accurately.
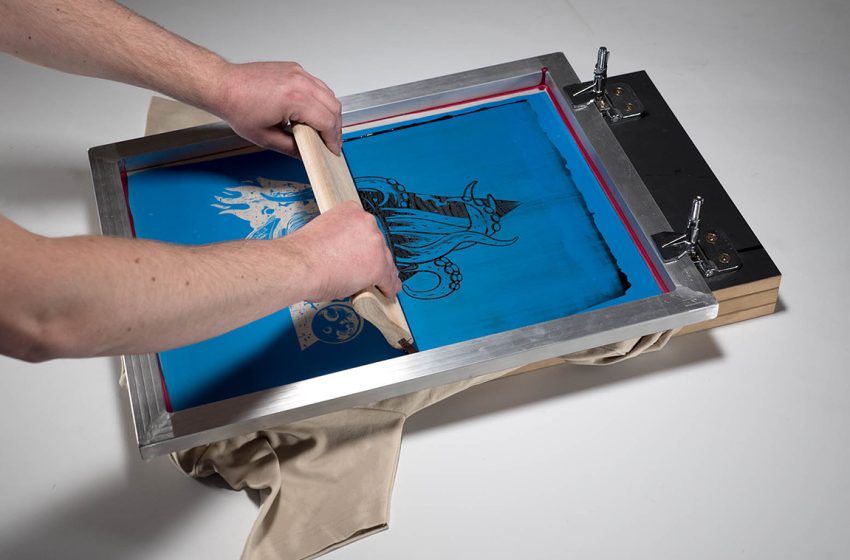
Printing the Design
Once the setup is complete, it’s time to print the design onto the garment. Load the ink onto the screen and flood the screen with ink using a squeegee. Apply even pressure as you pull the squeegee across the screen, forcing the ink through the stencil and onto the fabric. Repeat the printing process for each color in your design, allowing the ink to dry between each layer.
Curing the Ink (Approx. 150 words):
After printing, the final step is to cure the ink to ensure it bonds properly with the fabric and retains its vibrancy over time. Depending on the type of ink used, curing can be done using a heat press, conveyor dryer, or flash dryer. Follow the manufacturer’s instructions for the specific ink and fabric combination to achieve optimal results.
Finishing Touches and Quality Control
Once the ink is cured, inspect the printed garments for any defects or imperfections. Trim any loose threads, check for misprints or smudges, and ensure that the colors are vibrant and consistent. Finally, fold and package the finished shirts for distribution or sale.
Conclusion:
Silk screen printing offers a versatile and cost-effective method for creating custom apparel with vibrant designs and durable prints. By following the step-by-step process outlined in this guide and mastering the art of silk screen printing, you can create stunning custom shirts that stand out from the crowd and leave a lasting impression. With practice, patience, and attention to detail, you’ll be well on your way to becoming a skilled screen printer and producing professional-quality custom apparel.